Hyperlinker User Guide
Finding URLs in your InDesign documents and converting them to hyperlinks is quick and easy with Hyperlinker:
- Open your InDesign document, and save a backup copy. (Hyperlinker’s commands are safe and undoable. Nonetheless, it’s always good practice to backup before performing any automated operation that makes global changes throughout a document.)
- Choose Inkwire Hyperlinker from the Hyperlinks panel menu, or choose Type > Hyperlinks & Cross-References > Inkwire Hyperlinker from the main menu.
- Review the settings and customize them to suit your needs. (If you choose Story or Selection in the search options, select the story or text you wish to include in your search.)
- Click Convert All.
Alternatively, use the Previous (<) and Next (>) buttons to find and select individual URLs, and the Convert/Find button to convert one URL at a time. If you have the Hyperlinks panel open, you can monitor the addition of hyperlinks as they are created.
Click Done to close the window when you’re finished.
User options
Search settings
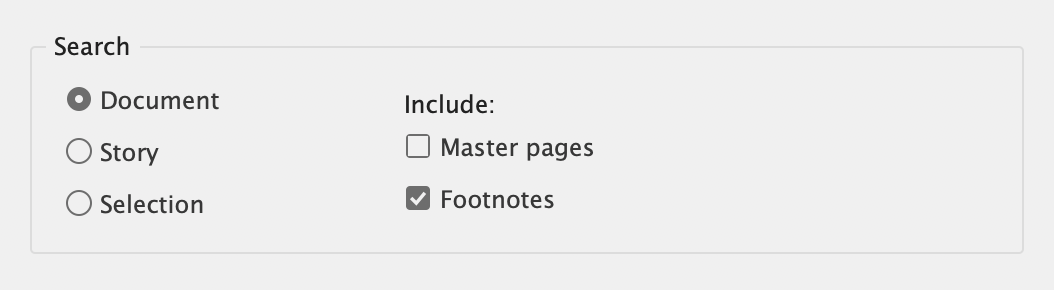
The Search settings define the scope of your search. You can search the whole document for URLs, the currently selected story, or just the currently selected text. Additionally, you can choose whether to include master pages and footnotes in your search.
Find settings

The Find settings tell Hyperlinker what kind of URLs you want to find and convert. Hyperlinker 2 now also features advanced custom search options that allow you to find any words or text patterns throughout your document and automatically convert them into working hyperlinks.
Web addresses
Choose this setting to find valid web addresses and convert them to hyperlinks. By default, Hyperlinker will recognise a web address that has any of the following hallmarks:
- starts with a scheme (or protocol), e.g. https://inkwire.app
- includes the ‘www’ subdomain, e.g. www.adobe.com
- includes a directory/file path, e.g. inkwire.app /hyperlinker/
If your document includes any URLs that are missing all of these characteristics (e.g. inkwire.app), you may also wish to search for ‘naked domains’.
Naked domains
Sometimes an author will reference a website using nothing but the site’s domain name (e.g. inkwire.app). If it’s even missing the ‘www’ subdomain, we call this a ‘naked domain’.
A word of caution… Since a naked domain lacks the usual hallmarks of a complete URL, it becomes harder for a machine to reliably distinguish it from the surrounding text, so choosing this option is more likely to return some false positives. On the plus side, it can help you find any missing spaces between sentences.Cool!
Email addresses
Choose this setting to find valid email addresses and convert them to email links. The ‘mailto:’ identifier is automatically added to the hyperlink destination if it is missing from the source text. (The text itself is not altered.)
Telephone numbers
Choose this setting to find telephone numbers and convert them to links that can initiate a phone call on a mobile phone or other compatible device. The ‘tel:’ identifier is automatically added to the hyperlink destination if it is missing from the source text, and spaces are converted to hyphens. (The text itself is not altered.)
Custom search
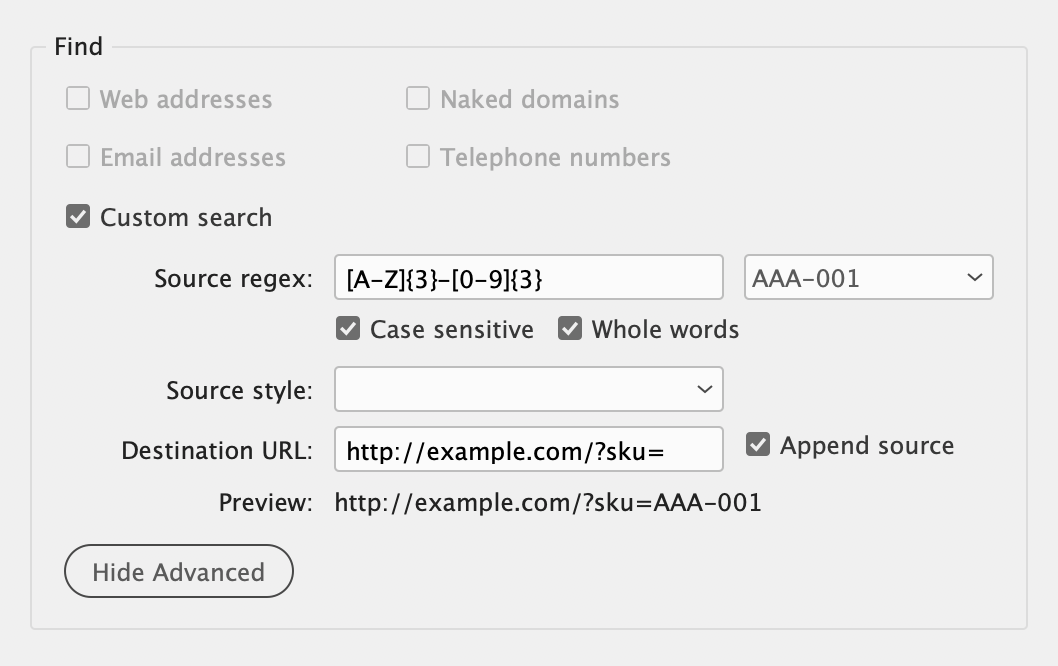
The custom search feature allows you to find any words or text patterns throughout your document and convert them into working hyperlinks. For example, you might want a company name to link to the company’s website, a product code to link to an online store, or a person’s name to link to their email address.
Hyperlinker allows you to build a URL that optionally includes the source text. For example, the product code ‘ARL–3000’ might link to https://www.acme.com/?sku=ARL–3000. In this way, any number of unique URLs can be created automatically.
Click the Advanced button to access these controls.
Define the source text
You can search your document for text that satisfies a certain pattern (like three letters, followed by a hyphen, followed by a four-digit number). We call these patterns regular expressions, or regexes for short. (Adobe calls its regex search tool ‘GREP’ which stands for ‘global regular expression print’.)
You can enter your own regular expressions in the Source regex field. Alternatively, the drop-down menu to the right of the Source regex field lists some pre-made patterns to help you get started. Choose the pattern that seems closest to the text you want to find, and Hyperlinker will enter the corresponding regex for you. You can then customize the regex as required.
By default, custom searches are case sensitive and don’t match partial words. You can change this behaviour by unchecking the Case sensitive or Whole words options.
If you’ve never worked with regular expressions before, I’ve written a user-friendly introduction to writing your own regular expressions just for you.
Search by character style
Another way to find source text, is to search for text that has a particular character style applied. Selecting a style from the Source style drop-down menu activates this feature. To disable it, deselect the style by selecting the default (empty) element from the drop-down menu.
If you enter a source regex and select a source style, only text that satisfies both criteria will be matched.
Define the destination URL
With a standard URL search, Hyperlinker gets the destination URL from the source text itself. It can’t do this with a custom search, since there’s no guarantee the source text will be a URL at all—it could be anything. With a custom search, you need to define the destination URL yourself.
If you want all found text to link to the same URL, you simply enter this URL in the Destination URL field, and you’re done. This would work well if all you want to do is link a company’s name to its homepage.
Alternatively, you can construct unique destination URLs in one of two ways:
- The easiest way is to tick the Append source checkbox. This takes the source text of each match and adds it to the end of the destination URL that you specify. For example, if your regex finds product codes like ‘ARL–3000’, entering ‘https://www.acme.com/?sku=’ as the destination URL, and checking the Append source option will generate final destination URLs of the form: ‘https://www.acme.com/?sku=ARL–3000’.
- If you need more control over the destination URLs, you can use a feature of regex called
numbered capturing groups. Start by grouping one or more parts of your source regex within parentheses. Then, you can insert the text matched by each of these groups into your destination URL by referring to them by number, in the format $1, $2, etc. For example, let’s say your document contains a list of company employees, and you want each name to link to that person’s email address. If the names are in the format ‘Lastname, Firstname’ and each email address is in the format ‘Firstname.Lastname@companyname.com’, you could achieve this by selecting the list and doing a custom search on the selection with the following settings (
Case sensitive unchecked):
- Source regex: ([a-z]+), ([a-z]+)
- Destination URL: mailto:$2.$1@companyname.com
To help you anticipate these results, Hyperlinker displays a preview of the destination URL’s final format. (It does not calculate actual search results, but just shows you how the different parts of the URL slot together, including the Append [to Hyperlink Destinations] field if it is enabled.)
Hyperlink Destinations settings
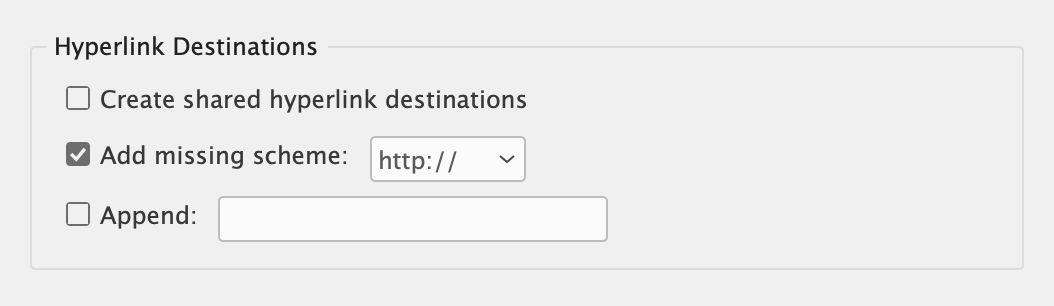
Create shared hyperlink destinations
Choose this setting should you wish to create hyperlinks with ‘Shared Destinations’. This is an InDesign feature that allows a single hyperlink destination (the page or file you are linking to) to be shared by multiple hyperlink sources (the URLs within your text). These shared destinations can be reused when creating new hyperlinks. (See the ‘Hyperlinks’ section in Adobe’s InDesign User Guide.)
Some users prefer to avoid InDesign’s Shared Destinations, finding them confusing or unreliable. Even Adobe’s own documentation concedes, ‘If a URL hyperlink isn’t working in the exported PDF, there may be a problem with the hyperlink being a “Shared Destination”. Deselect the Shared Hyperlink Destination checkbox, and then click OK.’
Add missing scheme
Most people recognise a web address when it’s missing the scheme (or protocol designation) at the beginning, so it’s common for an author to omit this from their text for brevity and aesthetics, e.g. ‘inkwire.app/hyperlinker/’ instead of ‘https://inkwire.app/hyperlinker/’. If someone copies this incomplete address into a web browser, the link will usually still work because the software makes the (generally correct) assumption that the linked resource uses the Hypertext Transfer Protocol—the protocol represented by the ‘http://’ or ‘https://’ scheme.
You don’t, however, want to be creating incomplete hyperlinks when you’re exporting an electronic publication. That’s leaving it up to the user’s software (web browser, e-book reader, etc) to try and fill in the blanks. The software may try to add ‘http://’ or it may not. It may mistake the incomplete URL for a relative link, and try to open a page relative to wherever the document is being hosted. In short, it’s another recipe for broken links and unhappy readers.
If your document’s text contains incomplete URLs, and you need to add ‘http://’ or ‘https://’ to the beginning of each hyperlink, you can have Hyperlinker do the work for you by selecting this option. (Only the hyperlink destinations and names are affected. The source text is not altered.)
Be careful, particularly when clicking Convert All, to ensure that all such links conform to the chosen protocol. (If they don’t, you might suggest to the author that the correct schemes need to be specified in the text!)
Append
The Append option (in the Hyperlink Destinations settings) simply takes whatever text is entered in this field, and appends it to the very end of each hyperlink destination. (The source text is not altered.) This might be used to add a query string or path fragment to the end of each link when you do not want them taking up space in the source text. (It can also be used in conjunction with the Custom search feature to build a destination URL from scratch.)
Be careful, particularly when clicking Convert All, as this option creates hyperlink destinations that do not match the URLs in your text.
Style settings
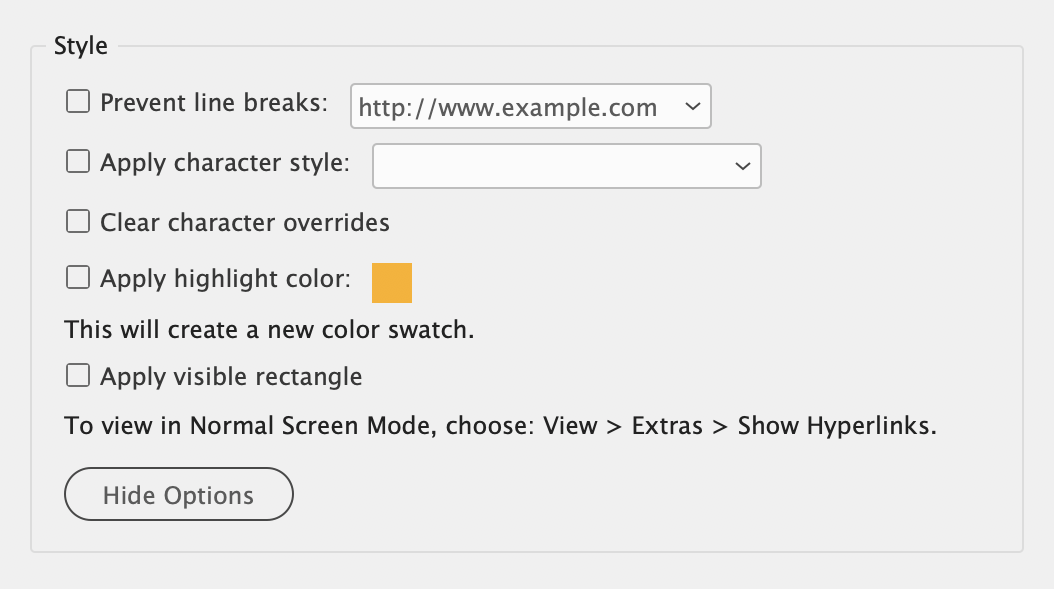
Prevent line breaks
In your document, it may not be possible to entirely prevent longer URLs from breaking where your text wraps from one line to the next. While InDesign tends to do an okay job of deciding where to break the path component of a long URL, it does nothing to prevent line breaks occurring within the domain name (or hostname), and these breaks are never a good thing.
Hyperlinker tackles this problem by applying InDesign’s No Break property to the part of the URL that you choose—either the combined scheme (protocol) and domain name, or just the domain name. (It does this after applying the character style and clearing any pre-existing character overrides if those options are chosen.)
I find this approach preferable to inserting discretionary line breaks throughout the text, as these hidden characters are more cumbersome to remove and work with later should the graphic designer or typesetter need to make changes. Discretionary line breaks (which are really just Unicode zero-width spaces) are, in my opinion, the last-resort tool in your typesetting toolbox, reserved for those rare occasions when the automated tools haven’t beaten a rogue URL into submission. If you do need to add one, you can do so with confidence, knowing that Hyperlinker won’t remove it from your text, and the final hyperlink will be unaffected. (To add a discretionary line break, choose Type > Insert Break Character > Discretionary Line Break.)
Apply character style
Choose this option to apply one of your document’s character styles to the source text of each hyperlink.
If you would like to remove any existing character styles, choose the ‘[None]’ style from the drop-down menu.
Clear character overrides
Character overrides are any character-level formatting properties that are not part of the applied paragraph and/or character style. For example, if you use Hyperlinker’s Apply highlight color feature, or you apply a color manually from InDesign’s Swatches panel, this overrides the color specified by the underlying style. By choosing the Clear character overrides option, you can restore the appearance of your hyperlink text to match the applied style.
Apply highlight color
This option provides a very quick and easy way to add color to your hyperlinks. It creates a color swatch called ‘Hyperlink Highlight’. You can change this colour at any time by clicking the color well.
To remove the highlight color, you can do any of the following:
- Undo the hyperlink conversion (Edit > Undo …).
- Delete the Hyperlink Highlight swatch from InDesign’s Swatches panel and replace with another color.
- Select the Clear character overrides option, deselect the Apply highlight color option, click Convert All and answer ‘Yes’ when asked if you want to replace existing hyperlinks.
While this is a handy feature for testing your conversions and making the results highly visible, character styles are far more versatile. For final production, consider creating a dedicated character style for your hyperlinks and using Hyperlinker’s Apply character style feature.
Apply visible rectangle
A somewhat curious feature of InDesign hyperlinks is the ‘visible rectangle’. True to its name, it slaps an unsightly visible rectangle around the hyperlink text. I’m not sure why you would want to do this, but hey… it’s a feature of InDesign, and now it’s available for hyperlinking on a grand scale!
Note that these ‘visible rectangles’ may or may not actually be visible, depending on your environment. In order to see them within InDesign, you must:
- view your document in Normal Screen Mode, and
- choose View > Extras > Show Hyperlinks.
The rectangles may be visible in the exported PDF, depending on your PDF viewer and settings.